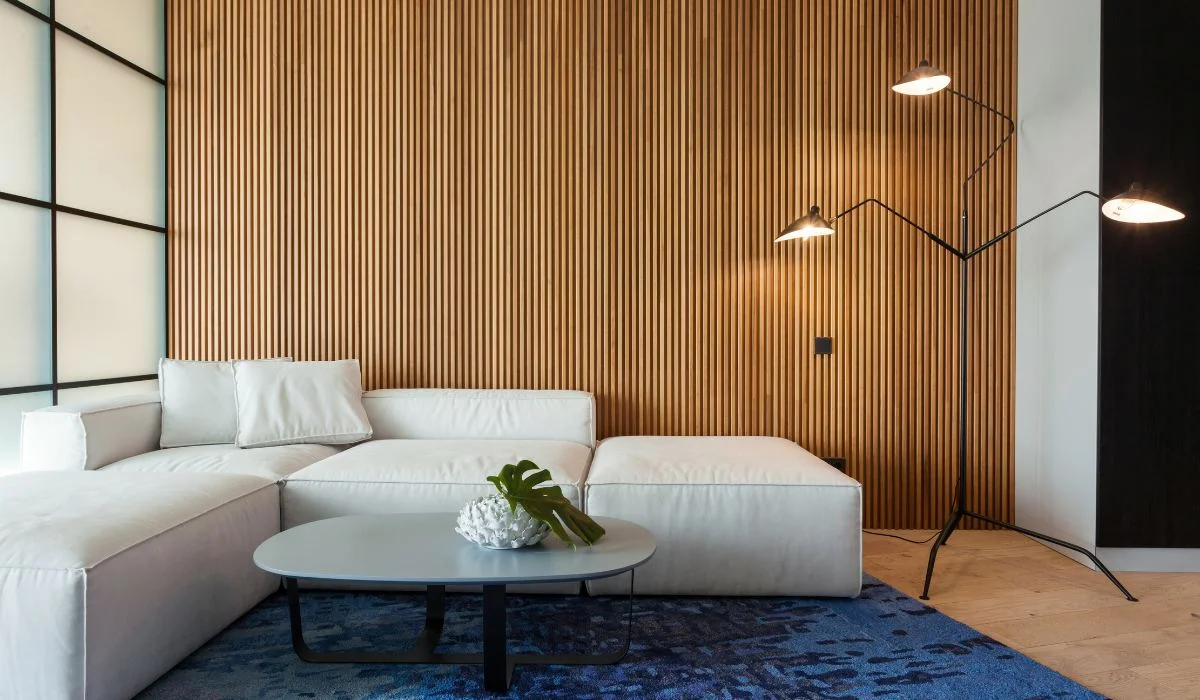
Constructing your wooden wall panel is an effective idea that helps to decorate the house more warm, textured, and even a little luxurious.
Whether you want a shabby chic or a minimalist interior, wood paneling will suit you. In this guide, you can learn all the procedures, tools, and methods to install the wooden panel wall properly DIY. After this article, you will be fully prepared to undertake this profitable home improvement exercise.
Why Choose a DIY Wood Panel Wall?
A wood panel wall is quite attractive, but it has several advantages that make it functional. Knowing why you chose this project will make it easier to get started and understand the value of doing the project.
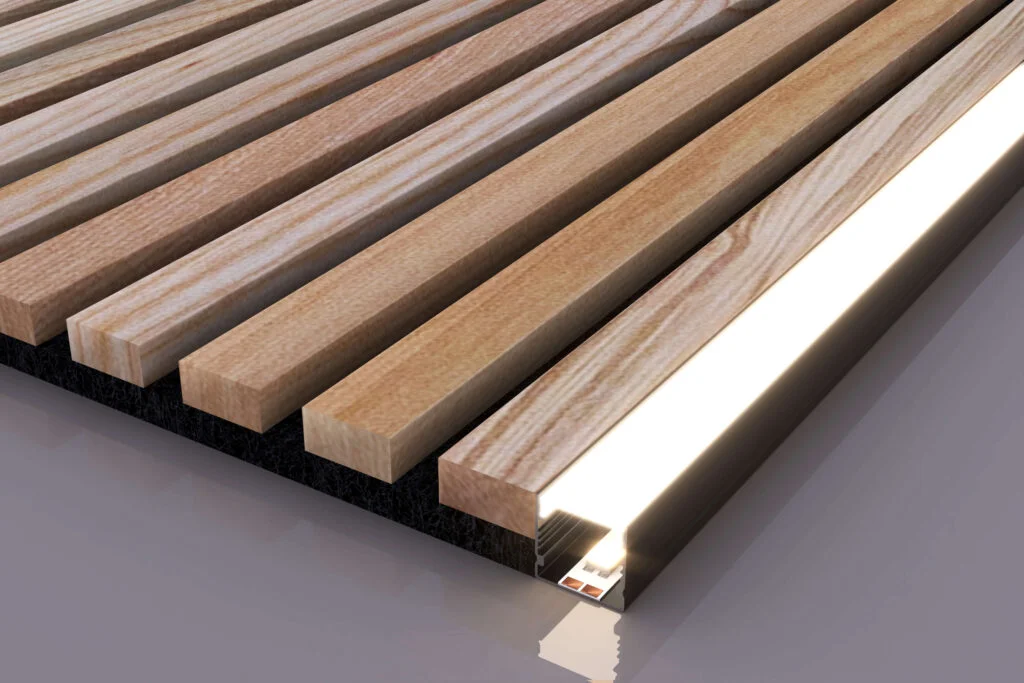
- Benefits of a DIY Wood Panel Wall: Adding a wood panel wall to your home extent can boost the house’s interior appearance. Wood wall panels are also used, contributing to the focus area and the creation of the necessary depth of the room. Altogether, this type is relatively unpretentious and may be made to match the selected style of interiors, whether more conventional or even high-tech.
- Cost-Effective Home Improvement: Undoubtedly, the greatest strength of a DIY wood panel wall is its cheap cost. Wood wall panels are rather cost-effective as a wall treatment compared with other wall treatments such as stone or tiling. DIY installation is a plus since you do not need to engage a custom to fix the tiles in place. It is possible to get a high-end look even with a few hours spent and without spending much money.
Preparing for Your DIY Wood Panel Wall Project
You must be ready for preparations to get a successful DIY wood panel wall. The following are the procedures on how to prepare for the installation of your wood panels as outlined in this section.
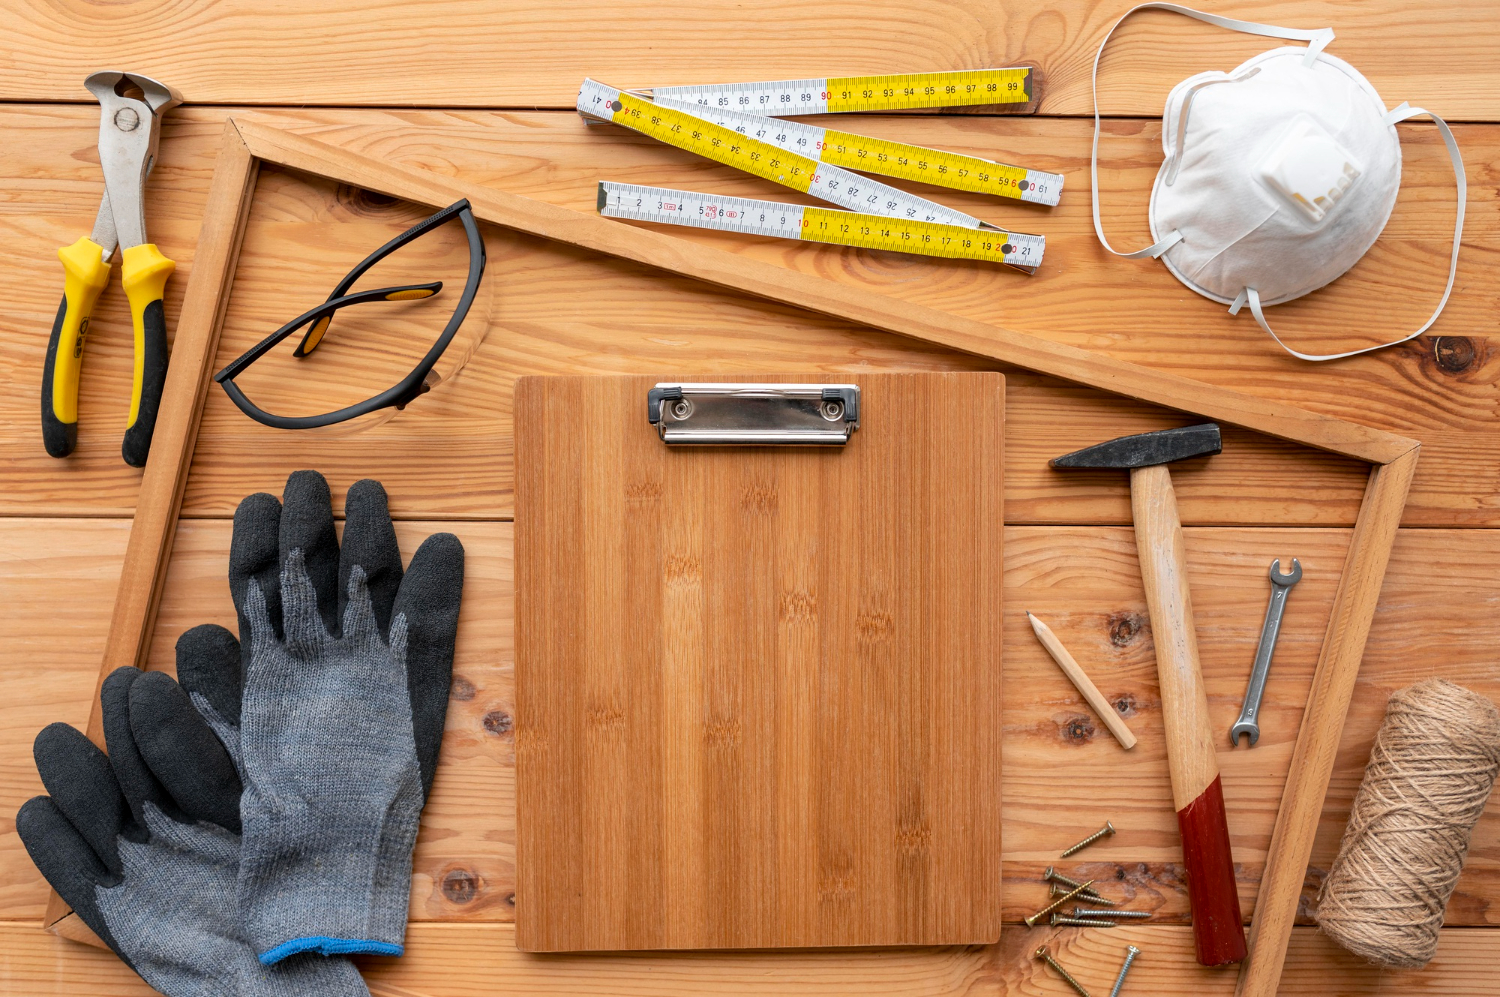
- Gathering Materials and Tools: Before you start, decide and assemble all the resources and equipment that will be used in the project. These are the wooden panels, a saw, measuring tape, level, glue, nails, and a hammer. If you’re using peel and stick wall panels, the wooden planks are easy to cut and apply. However, you must ensure that the surface on which the wood panels are applied should be clean and dry.
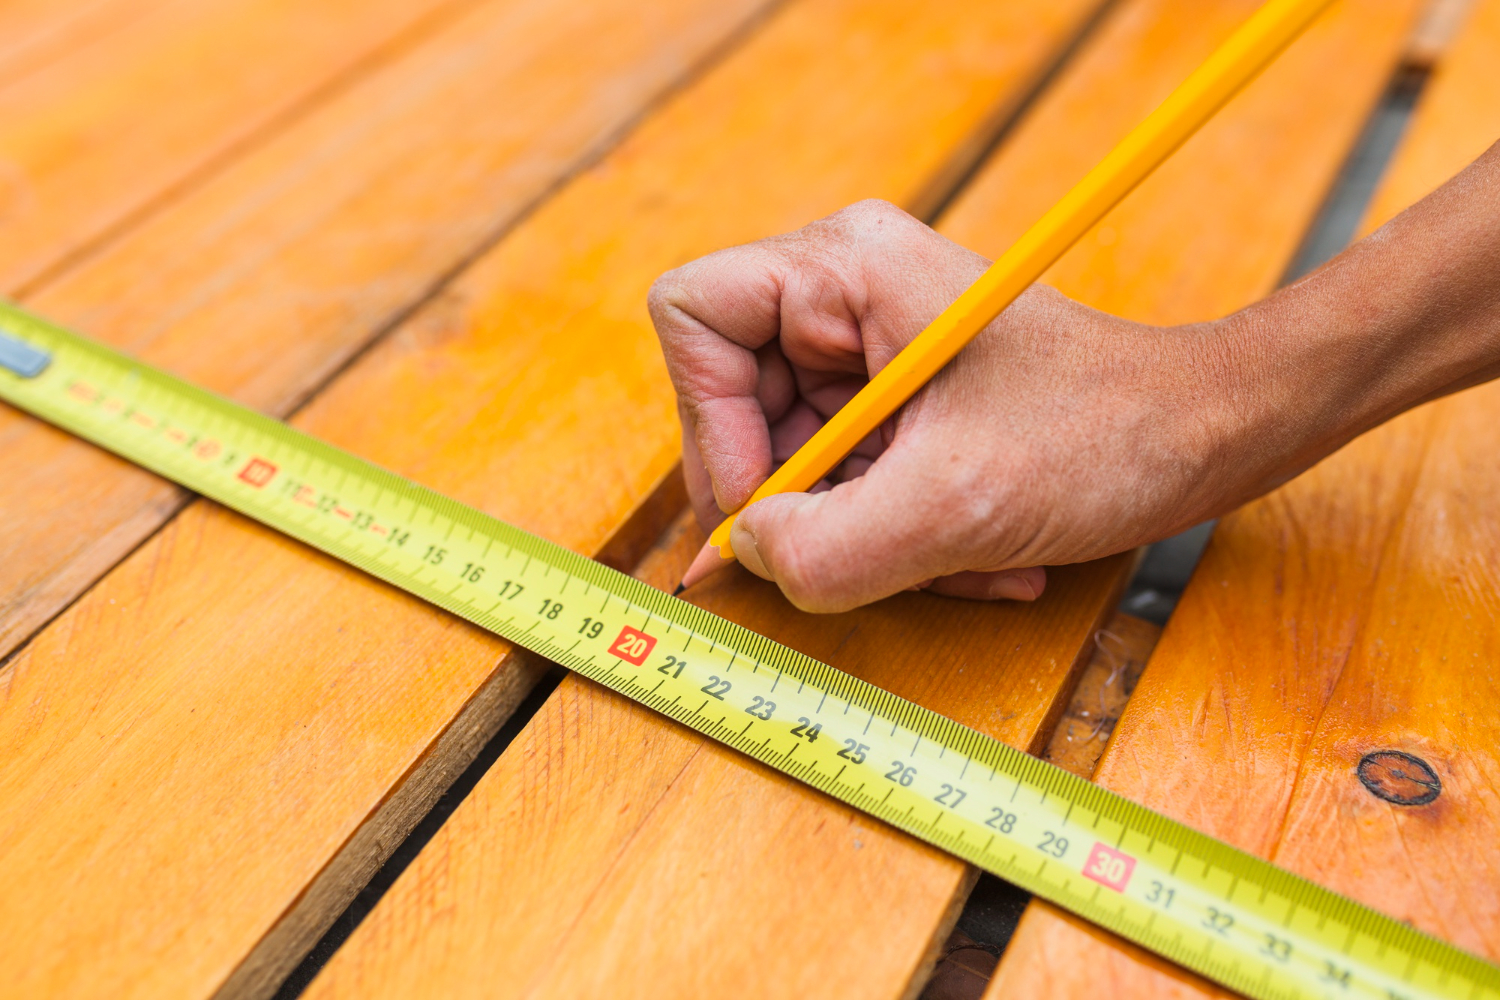
- Measuring and Planning: Precision is important when it comes to the installment of the system. Determine the length and breadth of the wall where you want to fix the panels. Determine the number of panels required to cover the surface and decide on the pattern so that it does not look odd. This planning phase would check that your DIY wood panel wall has a professional outlook after it has been worked on.
- Preparing the Wall Surface: Remember to sweep and clean the area first before preparing the wall surface. Prepare the wall before painting and the wall should be clean, free from moisture or any other hindrances. When putting over drywall, you may have to smooth the working point slightly, which helps enhance the adhesive bond. If the wall is not new, you should level the defects that have emerged with the help of trusted media, and apply a matched primer coat over the wall surface before applying wooden panels.
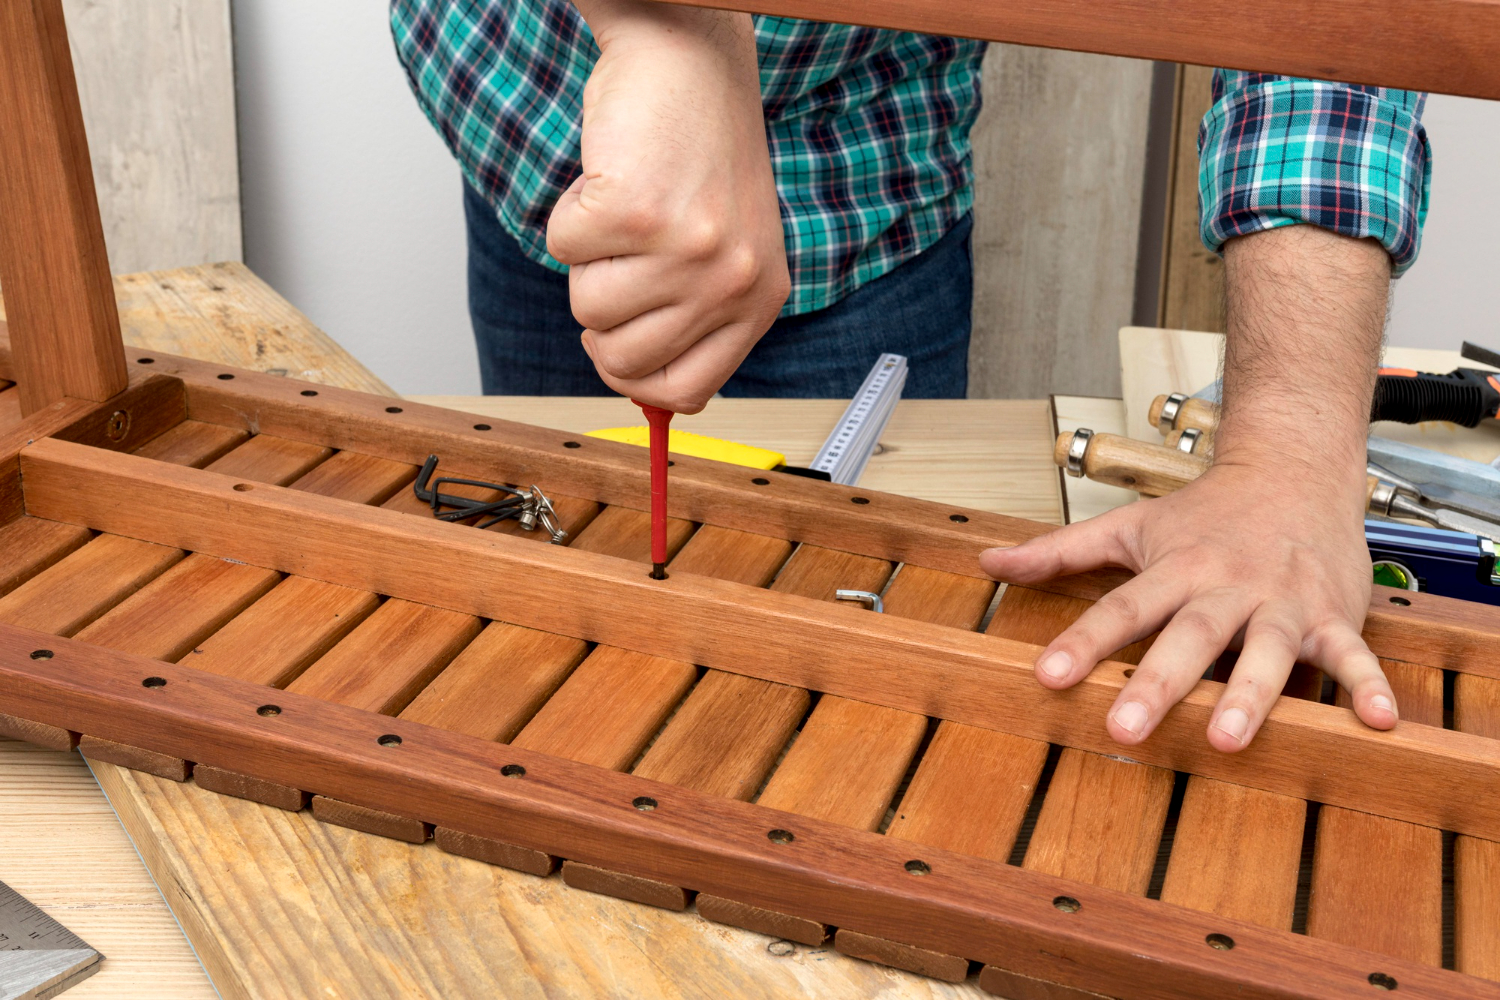
Step-by-Step Guide to Installing a DIY Wood Panel Wall
After having all your materials and walls prepared, you can begin to build your DIY wood panel wall. Below are the measures you can follow to achieve neat and professional-looking results.
- Cutting the Panels: First, plan your wall and trim your wood panels to the size of your wall. Using a saw will ensure that each of the panels fits where it is required to fit before a fix is made. When cutting and handling the wood wall panels, try to follow the manufacturer’s instructions. Proper cutting of the metal to be used in the building is very critical to avoid inconveniences resulting from wrong measurements.
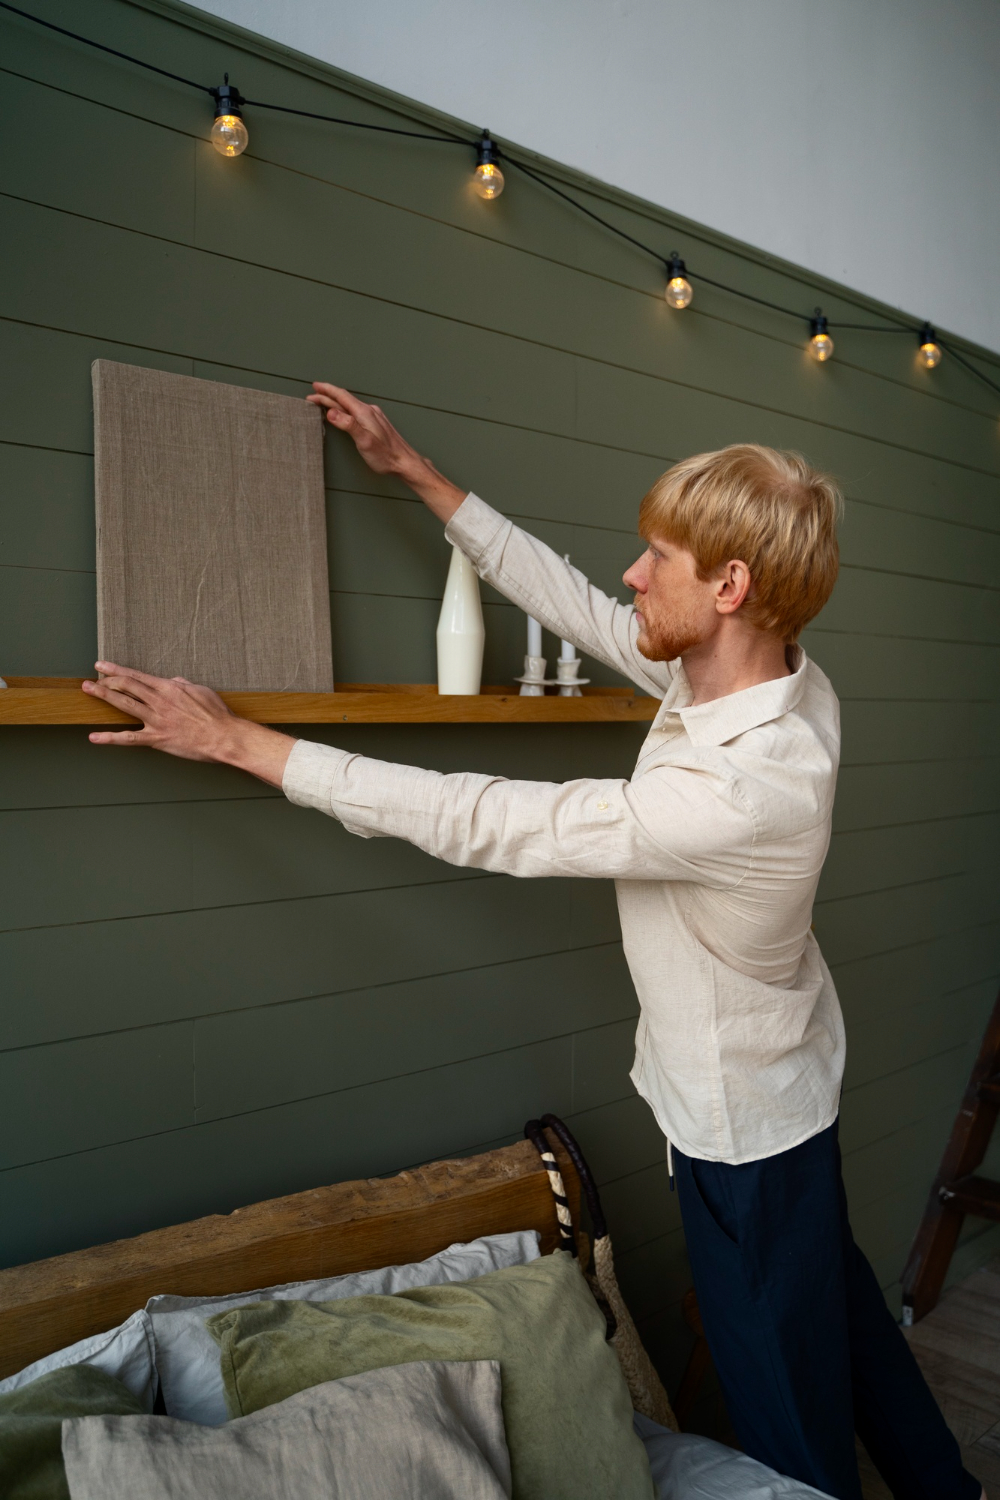
- Applying Adhesive: Apply a high-quality adhesive at the back of each panel. In the case of peel-and-stick wall panels, the installation is made easier because they already have adhesive backing. Cover the whole panel with the force consistency from down to up or from left to right depending on the inclination of the panel with the wall. Make sure that each panel is to be leveled properly before proceeding to the other panel.
- Nailing the Panels: To reinforce the structure further, fix the panels by using finishing nails on the walls. Put the nails at the locations on the top and bottom of the panels and along the edges. This step is particularly crucial if the wood panels to be fixed are a bit massive to ensure that they are well supported. This is possible as nails will hold the panels in place as they are over time.
Finishing Touches for Your DIY Wood Panel Wall
Now, it’s time to start the installation of your DIY wood panel wall. To get a professional-looking result, follow these steps.
- Filling Gaps and Seams: After installing all pre-scheduled panels, one should look for gaps or joints between those panels. Lastly, apply some wood filler in those gaps. after the filler has dried, level it and sand the area. This will give a smooth look and style to your wood panel wall, making it polished to near perfection.
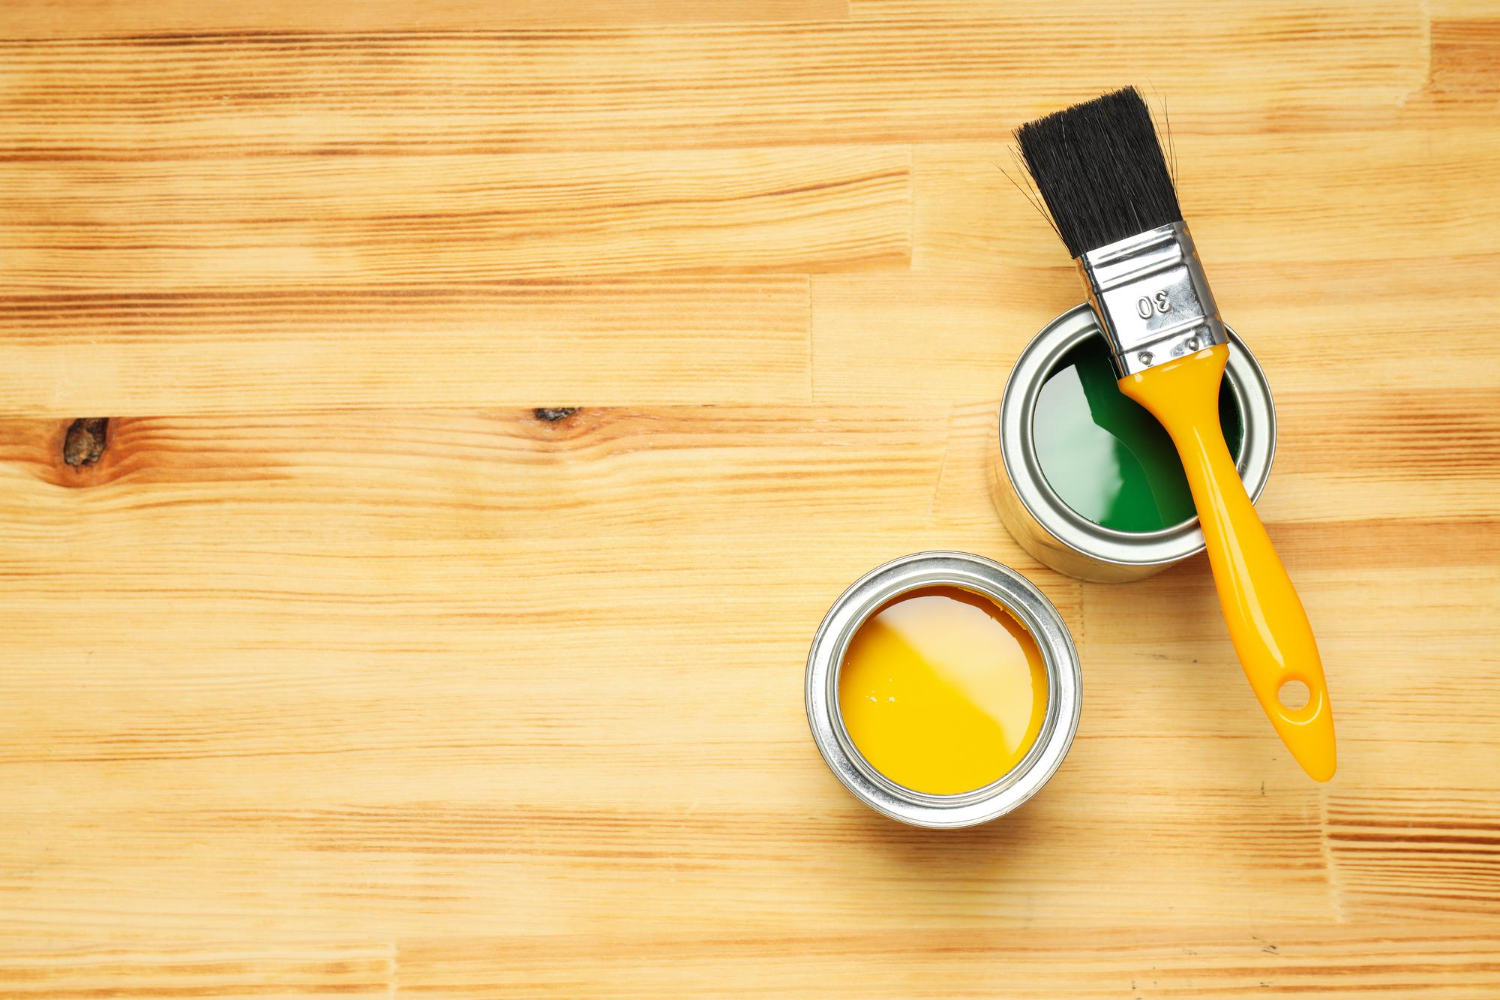
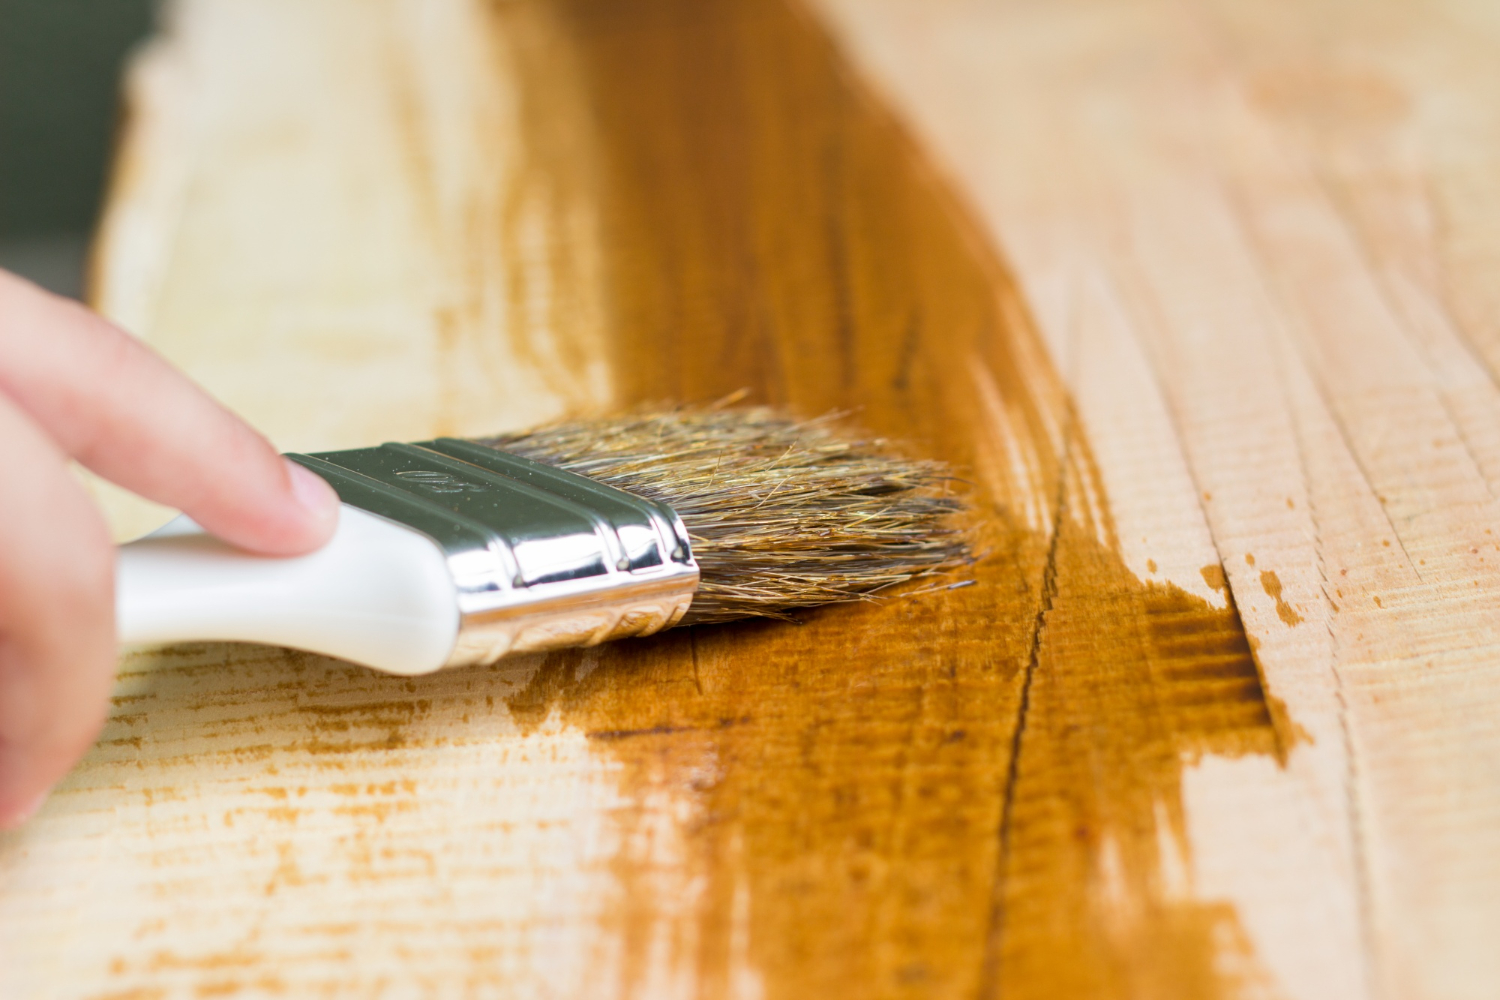
- Staining or Painting: Depending on your design preference, it can either be stained or painted. Staining brings out the natural grain of the wood more than painting. Meanwhile, painting lets you paint the wood with your desired color. Cure your selected finish properly according to the producer’s guidelines to get the best outcome on your completed flooring.
- Adding Trim: Don’t leave the edges of the wood panel wall bare. It is advisable to add trim around the edges to enhance its appearance. Trim can easily mask any flaws and give a neat professional look. Select a trim according to the looks of your panels and the interior design of your rooms. Applying trims is for people who want to give a makeover to their DIY wood panel wall without fancying it up too much.
Maintaining Your DIY Wood Panel Wall
To maintain your DIY wood panel wall in the best condition, here are several tips that will help you. These will let you know how to take care of your wooden panels.
- Regular Cleaning: To maintain your wood panel wall in its best condition, always wipe it clean by using a low-rubbing soft cloth and a little water. Do not use a strong chemical cleaner or a rough scrubbing material that can scratch the surface of the woodwork. Clean the panels often to wash out the dirt that may accumulate on them. In case of stubborn stains, you can use a small portion of diluted mild soap and lightly massage the stained part.
- Touch-Up Tips: If you have a wood panel wall, the wall may produce a slight scratch or dent after an amount of time. It is advisable to save small traces of the stain or paint in case a touch-up is required in the future. If there are some defects visible, take a small brush and put some stain or paint on the defective areas. This step can help you maintain the appearance of your panels while avoiding a more serious fix later on.
- Preventing Damage: While relocating furniture or hanging pictures, avoid scratching or barging into your wooden panel wall. Place felt pads on the bottoms of furniture legs to avoid scratches. While hanging pictures or shelves, ensure that you use the right wall anchors and be careful to not dent the panels. That way, your wood panel wall will maintain its excellent state in your house.
Conclusion
A DIY wood panel wall is a home improvement project that will help you boost the beauty and value of your house. Getting to these steps as outlined in this guide will guarantee you of coming up with a great feature wall. That is why it is vital to have proper preparation and apply the device until the final adjustments. Pay attention to your choice of materials and the time spent on the work to ensure the best outcomes.
Whether you choose traditional wood wall panels or the peel-and-stick equally, the DIY wood panel wall project is worth trying. If you are looking for high-quality panels, check out Woody Wall right now! It has different types and colors for your intended design, making it easy to secure the best panels. Just when you prepare carefully enough for the panels, you can have a qualified outcome for your house renovation!