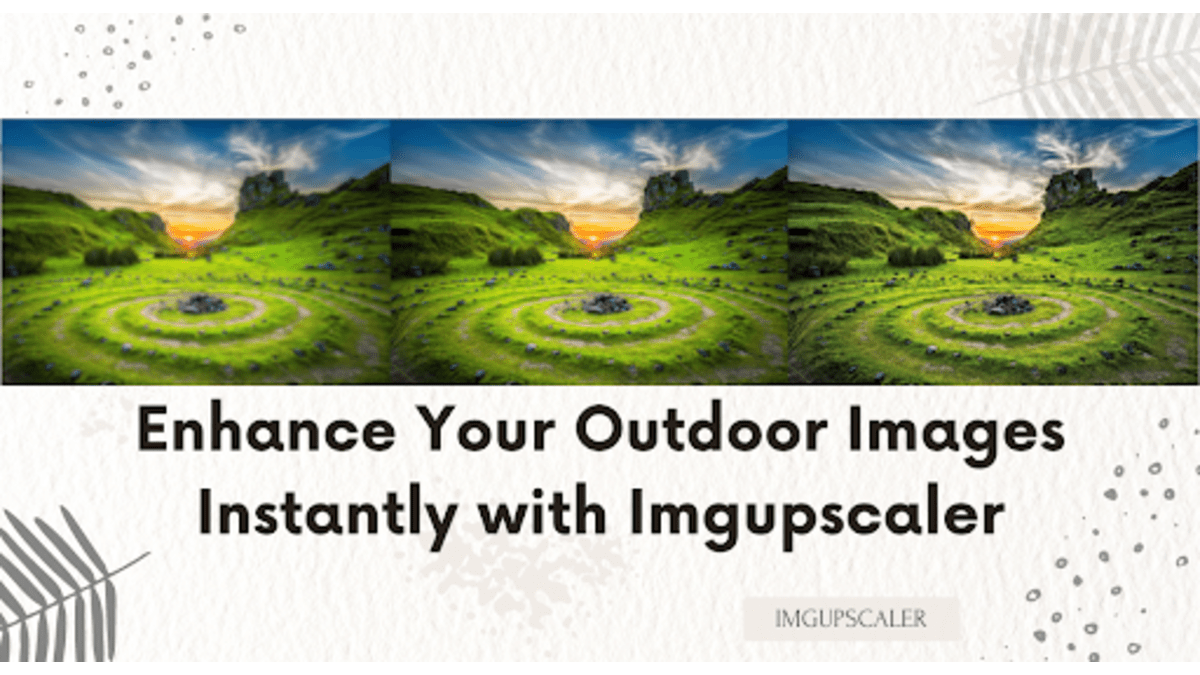
Outdoor images have the power to evoke strong emotions and capture breathtaking landscapes and timeless precious moments. Whether you are a professional photographer or an amateur, you will be able to capture the beautiful landscapes you encounter in the outdoors without even realizing it. The allure of outdoor photography is undeniable. However, taking the perfect outdoor photo is often challenging due to a variety of factors, such as lighting conditions, weather changes and compositional issues.
When we want to make our outdoor photo shoots display even better visuals, we recompose and adjust the light for the shot. And what can we do if it’s post-processing? Let’s take a closer look at the question.
Challenges with Outdoor Photography
While outdoor photography offers endless opportunities for creativity and expression, it also comes with its own set of challenges. One of the most common obstacles faced by photographers is the unpredictable nature of outdoor environments. Weather conditions can change in an instant, affecting lighting, visibility, and overall image quality.
Additionally, capturing compelling outdoor images requires careful attention to composition and framing. Finding the right balance between elements such as foreground, background, and subject matter can be tricky, especially in dynamic outdoor settings.
Understanding the Importance of Post-Processing
Post-processing is the stage where the original image is refined, adjusted and perfected to convey the photographer’s intended vision. Post-processing allows the photographer to correct exposure, enhance color, adjust composition and unleash creativity, ultimately shaping the final result of the image.
We can make our images shine again through post-processing. What image post-processing tools do you often use? In addition to the traditional image processing tools, PhotoShop, usually involves outdoor shooting, and users will understand some of the image processing.
However, for the novice shooter who is just getting started, there may be a longer learning curve. What if they like to do relevant processing on images now? AI might help us be more efficient!
Enhance Your Images Instantly with Imgupscaler
Imgupscaler is an excellent AI image upgrader. Anyone can easily use it to enhance pictures with 200% and 400% image enlargement. Blurry photos become better with natural details after processing by Imgupscaler. Suppose you want to make explicit photos that are more visually stunning. In that case, Imgupscaler’s upgraded images can catch your eye. Imgupscaler supports uploading JPG or PNG. Max Size 10MB or 4000px.Everyday photos can be processed.
Recently, Imgupscaler launched a new feature, Reimagine Upscaler, which allows you to redraw the details of your pictures. Different redrawing effects are selected for various image types, adding more photo editing possibilities for users.
Imgupscaler has a free plan where free accounts get 20 credits per month to use Imgupscaler. Image enlargement with unlimited magnification costs one credit per time, and reimagine upscaler costs two credits per repaint. This makes Imgupscaler free to use every month, even with a free account, which is an excellent value for money for users with low image processing needs.
If you have a lot of image processing needs, batch processing might make you much more productive. Imgupsaler is set up to process up to 5 photos for a word. This can save you time for other things, and everything can be started for batch processing.
How does Imgupscaler enlarge pictures? The traditional way to enlarge a picture is to increase the size of the picture, but when the picture size is increased, there will be pixel gaps. The traditional enlargement of the picture size is achieved. Still, the quality of the enlarged picture could be better than the original picture. Imgupscaler solves this problem at the root. Imgupscaler fixes the pixel gaps in the enlarged image. After filling these pixel gaps in the enlarged image, the details of the image are also optimized, and the image quality is upgraded.
How to Get Started with Imgupscaler
- Step 1: First of all, when you enter the homepage of Imgupscaler, you will see “Smart Image Upscaler,” there is an operation box underneath. You can drag and drop the photos you need to enlarge or click the box to upload the images.
- Step 2: After uploading the photo, please select the magnification on the box. 200% or 400%, the size of the image and the magnification determine the speed of the photo processing. If the size of the photo is small, it may only take a few seconds to finish processing it, while processing an image of a big size may take dozens of seconds.
- Step 3: After selecting the magnification, if you want to edit the picture, you can click “Edit” to make basic edits to the image, such as cropping, rotating, adjusting the parameters of the picture, and adding filters and stickers. Click the yellow “Done” button in the upper right corner to finish. Return to the previous page.
- Step 4: Click “Start” to start processing the picture, wait until the picture processing is complete, and click the purple eye icon to preview the effect. You can drag the white line in the center-left and suitable to see what changes in the picture.
- Step 5: Click the “Download” button to save the image locally after the preview is finished.
Conclusion:
Good photos are not only taken, but post-processing is equally essential. Now, even a blurry photo is sure you can optimize it into a great photo. Mastering the art of enhancing outdoor images through post-processing is a process of exploration, creativity and continuous learning.
We can use even better AI tools to help us improve the efficiency of our post-editing and transform our work into masterpieces. Edited photos give excellent results while resonating with the viewer. Now find that blurrier landscape photo you saved and use Imgupscaler to help you upgrade it!


